Your violin case is an important tool, but that doesn’t mean that it has to be boring. The standard black is easy to maintain, but a distinctive violin case is easier to locate and offers a great way to express your personality. In fact, there are many stylish cases available on the market today. These pricey accessories come in a variety of sleek shapes and cool colors; but you don’t have to spend a lot of money to customize your violin case.
There are plenty of low-cost methods and fun ideas that can be used to make your violin case unique. (But remember, these ideas will completely alter the case, so only try them on a case you own, not a rented one.)
Create Custom Designs
You can create individual designs to apply to your violin case using your own hand-drawn embellishments, or a printable download. Some ideas include:
- Music related emblems—sort of obvious, but music clefs, symbols, and other notations look great against that black background. Plus, you can place them in whatever pattern you like. Make a border of sixteenths around the edge, place a funky, zebra-striped treble clef on the top, or use some other combination to create your one-of-a-kind design. You can find plenty of free music symbol downloads online, in clip-art studios, and other free access libraries.
- Motifs and repeated images—if you want to go really dramatic, and you plan on spending a good bit of time customizing your violin case, you can choose a repeated image or motif to cover the entire surface. Find inspiration by looking at fabric patterns or wallpaper designs. There are truly limitless options available, but keep in mind that you’ll need to be able to reproduce it.
- Additional personalization ideas—use specific themes that show your individual tastes, favorite musicians or groups, or similar interests.
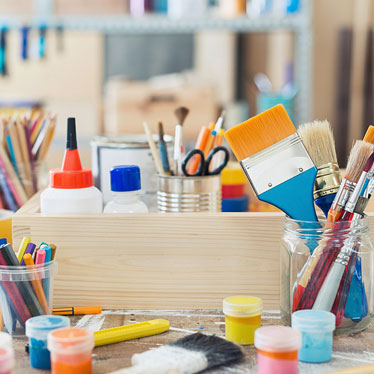
Choose your Materials
Once you’ve perfected your design idea, you’ll need to choose materials. Pick something that will work well with your case material. Some ideas include:
- Contact Paper—this is a wonderful material to use for customizing your violin case. The self-adhesive backing allows you to transfer your design directly onto the contact paper so that you can cut it out and then apply it. Plus, you can find tons of colors and design options for a very inexpensive price.
- Duct Tape—duct tape is available in a variety of fun colors and prints, and works well if you plan to create stripes of different thicknesses.
- White out designs—the white out technique is fun because you can use almost any combination of permanent marker to complete it. First carefully apply the white out and make sure that your completed design looks great, then color the white out using permanent markers, which are available in neon, sparkle, or even mossy green camo colors.
- Stickers—stickers are an easy, excellent way to customize your violin case. Some companies will allow you to create custom stickers, but you can also shop for decals at scrapbooking stores.
- Rhinestones and other accessories—in addition to flat designs, you can embellish your violin case with all sorts of inexpensive rhinestones and other crafty supplies. Visit your local hobby store or go online to see scores of colors, shapes, sizes, and ideas. Many items are self-adhesive, but check to make sure that they will attach properly to the material on your case before you buy.
Apply your Ideas
Now that you have your perfect idea in mind, there are a few steps you’ll need to follow to ensure that your decorative case doesn’t become a disaster. It’s also important to remember to place your violin in a safe, secure location while you’re customizing its case. While most of these ideas will allow you to use your case right away, be sure that you allow proper drying time if you’re using some type of glue.
Transfer your design to your case. For this, your specific technique will ultimately depend on the materials you’ve chosen. If you are going to use white out or markers, lightly trace your design on your case using a pencil first. If you’ve decided to use contact paper or some other adhesive material, lightly mark key points or outline the areas where you’ll be applying your design to ensure correct placement.
Take your time. It really goes without saying, but this is your violin case and you’ll have to see your handiwork every time you practice or play, so be deliberate. If you know that it will be a work-in-progress for a while, you may want to divide it into sections that can be completed easily in one sitting.
You don’t have to spend a lot of money to customize your violin case. By using your imagination and some basic crafting skills, you can individualize your case in wonderfully fun ways.
Share this article
